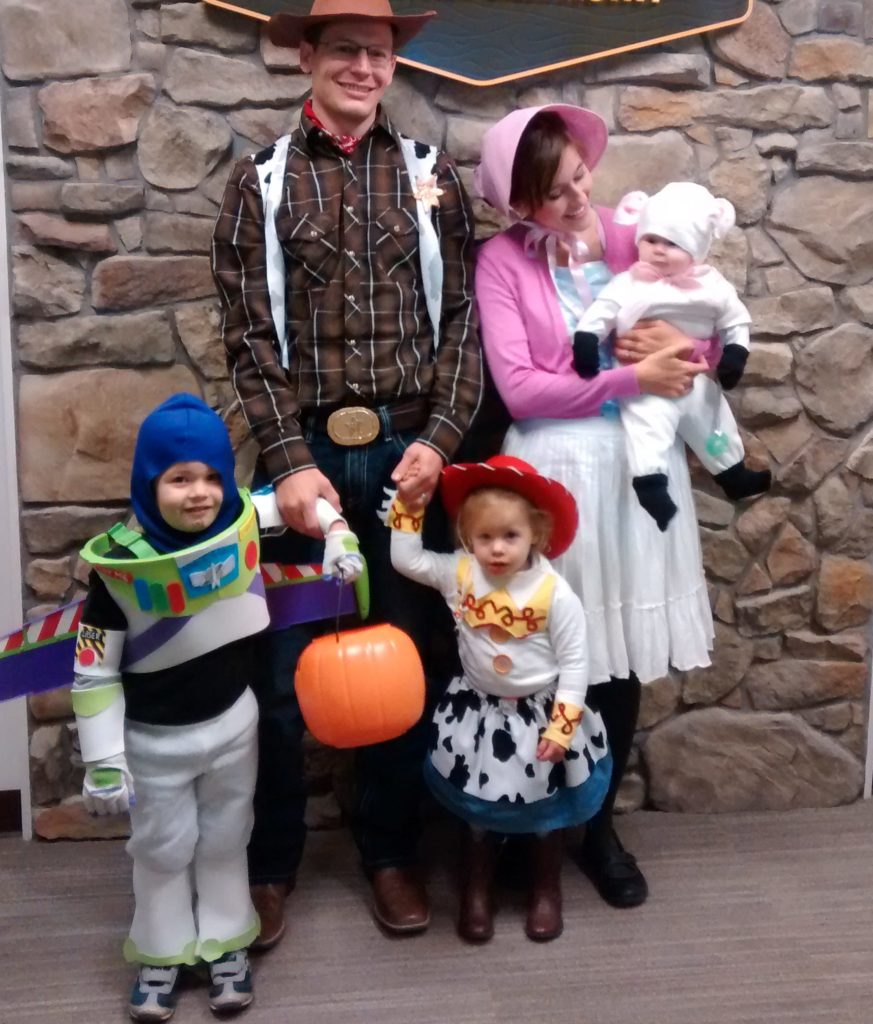
Stopping by the hubby’s office on Halloween day! I didn’t want to be driving and walking around during the day during in a hoop skirt, but you will see my real skirt below!
It is hard as a parent to not completely give in to all your child’s interests and favorite things. Henry is a hard core major Toy Story fan, and seriously, I think it is pretty cute! So I wasn’t too opposed to the idea of a Toy Story theme when he said he wanted to be both Woody and Buzz Lightyear (naturally). I had a lot of fun making all these costumes. Other than my bonnet, there really wasn’t anything in particular that gave me real grief like past years, it just took a lot of time putting them all together. Let’s begin with Woody, shall we?
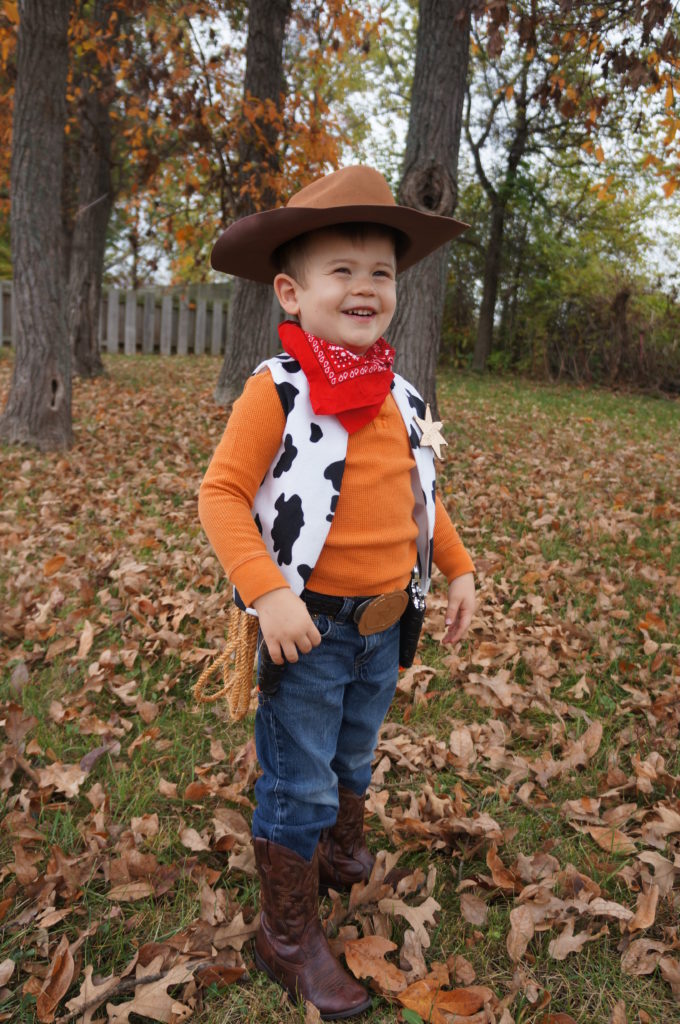
I made this actually as just an everyday dress-up costume not as his “official” costume, hence no yellow shirt or spurs or other things I would have added had it been his real costume. I decided to make him a woody vest which I figured would be practice for making the hubby’s vest (who would be Woody on actual Halloween). Luckily, I remembered my frustrations with years past and I followed a tutorial. I believe it was this one (although I did not need it to be reversible and I left off the fake pockets). Much smoother sailing doing it right the first time and following a tutorial wasn’t as intimidating as I thought it would be! I also got the nicer faux cow print (that’s soft material) from the fabric store which really makes it look so much nicer than just the fake cotton cow print would have been. No fraying either or ironing needed, always a plus in my book.
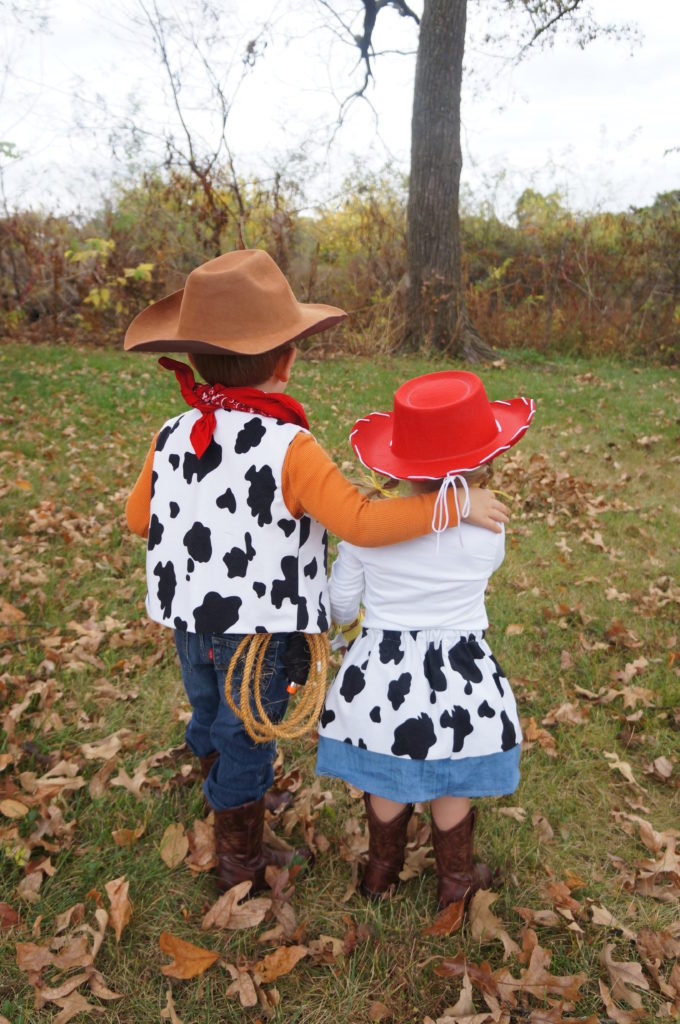
Finishing it off is a brown hat from dollar tree, a toy gun, some rope I had around the house for a lasso, cowboy boots I got for both kids (from Target on sale for $14– score!), and a bandana. I looked at dollar tree for sheriff badge, but they only had a tiny one which I thought looked a little silly. So I cut my own badge and belt buckle out of cardboard and painted it with gold paint. The cardboard definitely elevates it. 😉 haha! I attached elastic to the back of the belt buckle and just slid it right onto the belt before buckling. Everything was the same on Jesse except he got a western shirt and ironically I ran out of time to make the vest with a lining, so it is only the outside cow print I sewed together! unfortunately because of this it was rather thin and didn’t lay very nice (and looked cheaply done… whoops! I shouldn’t have saved that for last!).
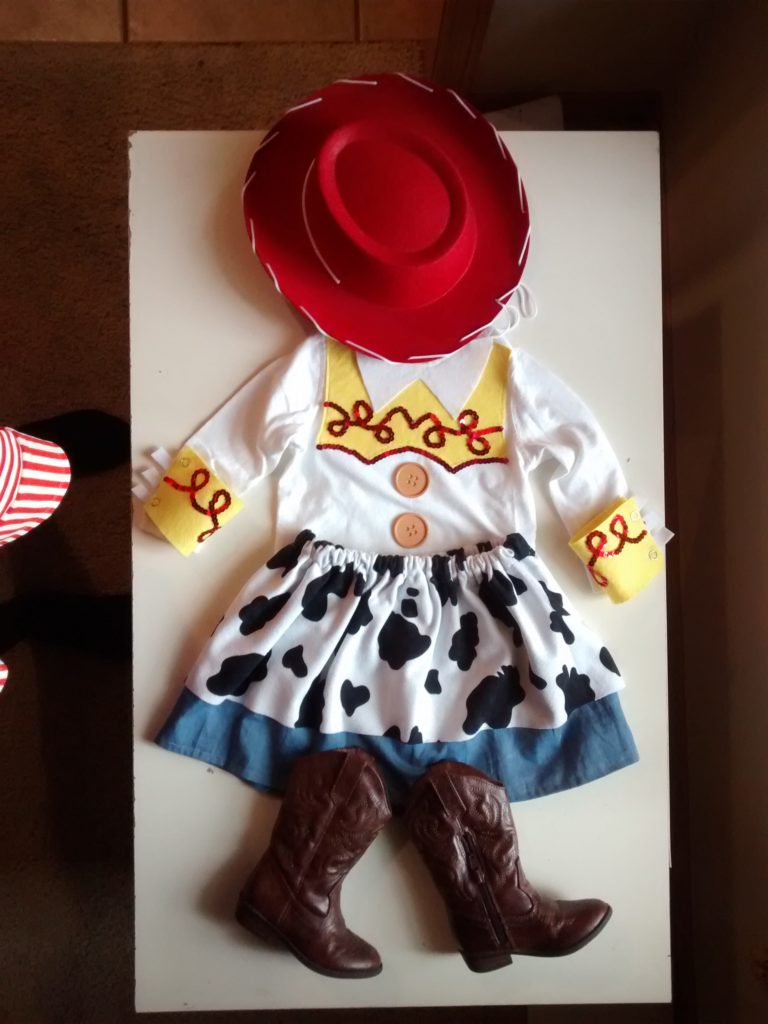
I always seem to have a favorite costume or costume part every year. Jane’s “Jessie Cowgirl” costume was definitely my favorite. Even before I tried it on her, just laying it out on a table looked cute!!
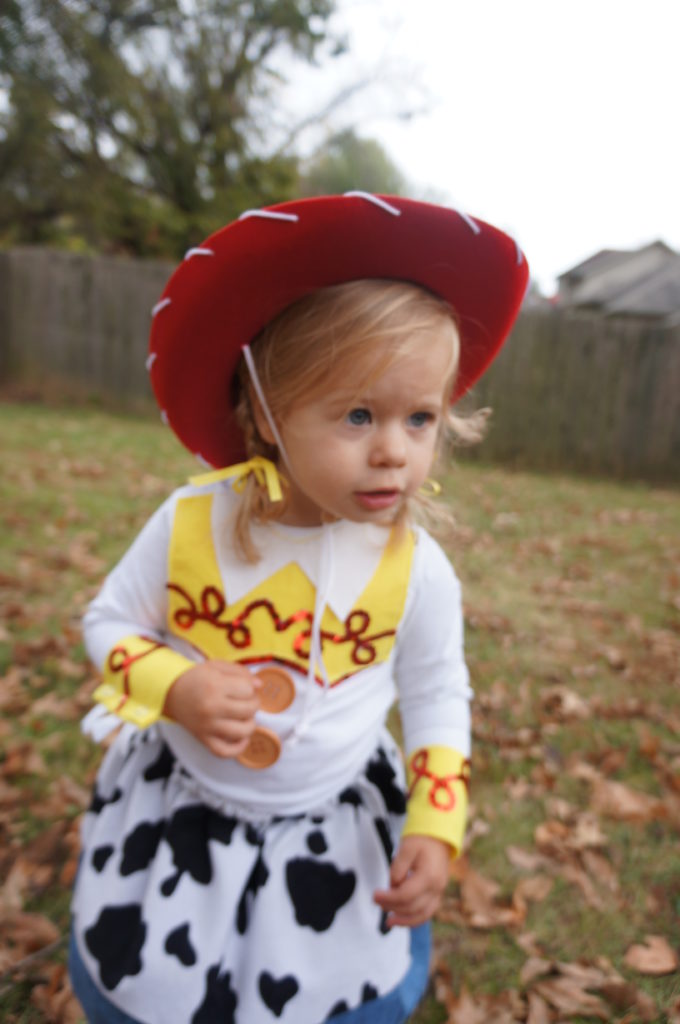
I had an old shirt of Henry’s which had a lot of stains at the top which was perfect for this because it would be covered up and giving it another use! I brought in the sides a bit so it didn’t look so big, and then I attached yellow felt with “Heat N Bond”— which since then I have discovered “Wonder Under” which does the same thing but it is way cheaper. I cut a fake collar out of white felt (I actually think I used some pellon I had which has a fusible side) and hot glued some sparkly red sequin ribbon (I really do look at the originals and try to copy certain things closely, and funny how I even made that swirly design the same!). Since nothing was attached on the back of the shirt, she was still able to stretch it to get it on and off. I got some oversized buttons which I should have sewn on, but you know, I have a special bond with my glue gun so that’s what I did (but they were always verging on falling off and one just did this year).
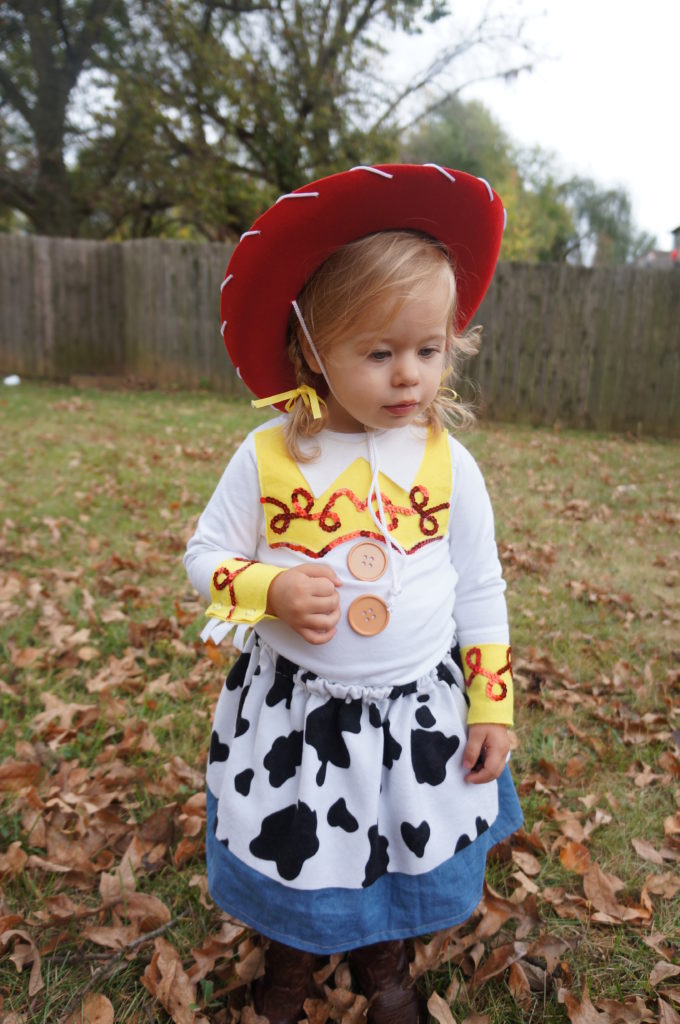
The ends of her sleeves are my favorite. I cut a long rectangle of yellow felt and measured it around her arm, allowing extra room. glued on some sequin ribbon, then attached snaps! That was something I always was intimidated by but found out it’s incredibly simple and quick! These instructions helped me. I glued in three strips of white ribbon folded over on each side and done! The skirt was just your basic skirt—- measure the length you want, measure around the waist and double it (if you want a little fullness and poof), then I hemmed up the jean bottom, cow print didnt need hemming (hooray!), Then I folded down the top (allowing enough room for elastic to fit) and sewed almost all the way around. Insert the elastic (I always attach a safety pin to the end so it is easy to feel and move it down, sewed the elastic together and sew the small opening closed. I loved this skirt! And I like how it made it more girly, than just doing a pair of jeans with cow print on the front, like the actual character.
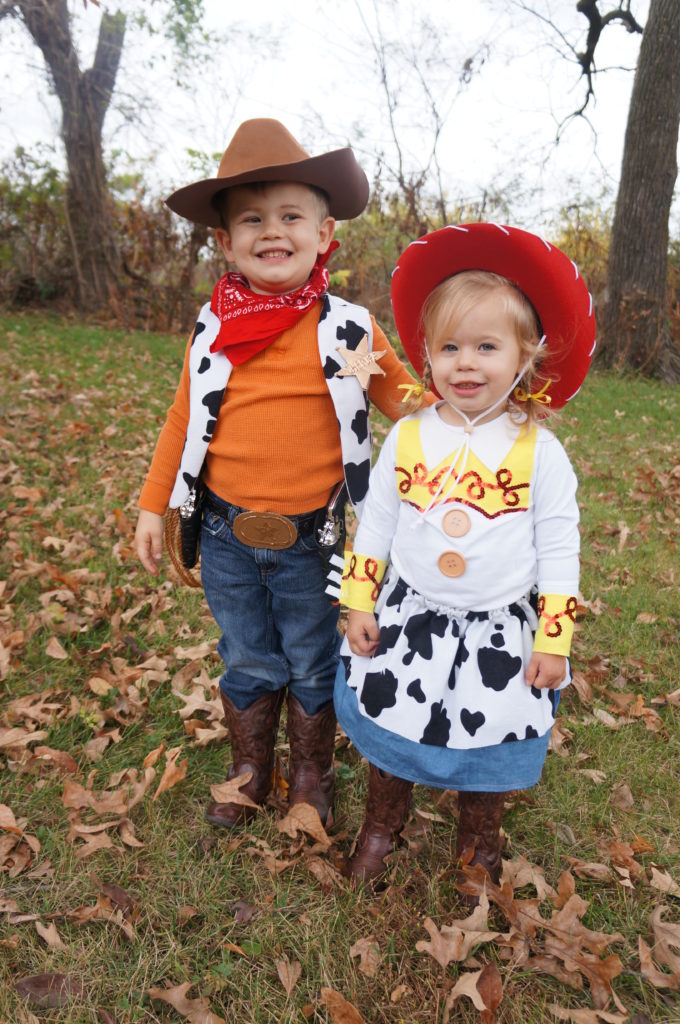
Of all times for dollar tree to not carry red cowgirl hats, i had to resort to option B (which I was pleasantly surprised cost under $10). We really save so much money making the costumes that I feel okay buying certain components, and I feel like the official jessie cowgirl hat really completely the outfit! I thought they made a pretty cute woody and jessie pair.
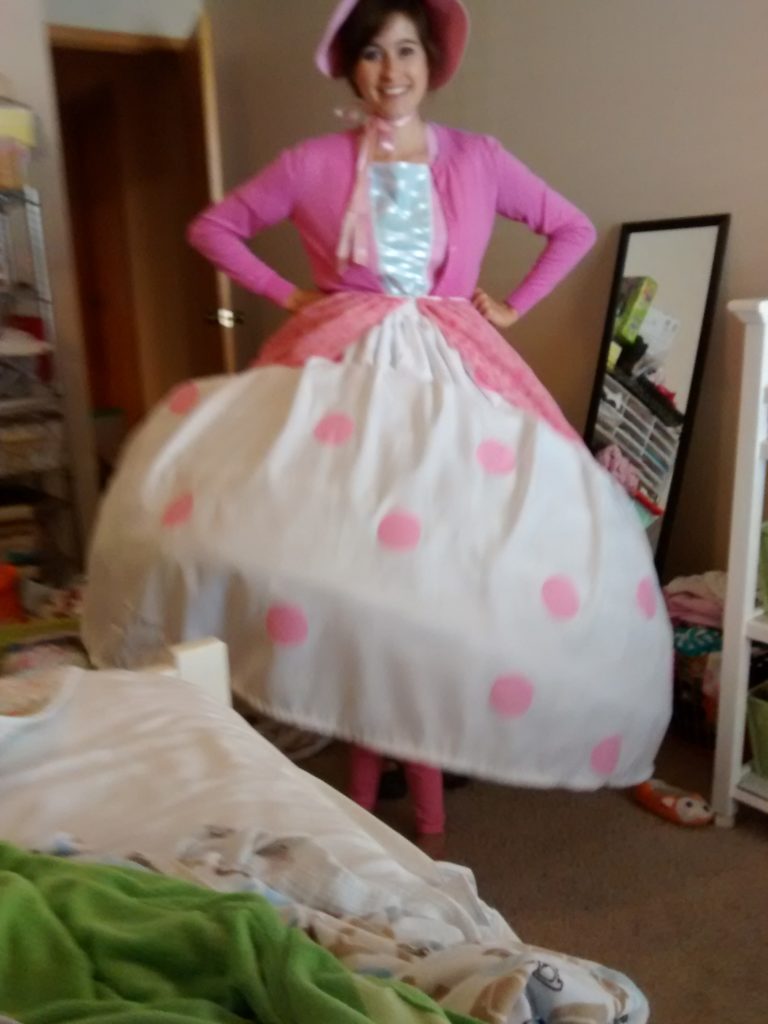
Those aren’t my pink legs… Someone thought my skirt was a really fun tent! I couldnt keep her out of it!
The assembly of Little Bo Peep was rather humorous, I wish I had a picture of the shirt without the sweater because it was quite funny how it was pieced together. I found a blue shirt in my pass-on pile and had some pink fabric which i just attached with Heat N Bond, leaving a space in the middle. I didn’t have much pink fabric in my stash, so I only covered up the parts I knew would show with a sweater on. I glued on some white satin ribbon going down both sides were the pink meets the blue, and then zig zagged them back and forth all the way down. For my skirt, I asked one of the workers at the fabric store for recommendations for a cheap nicer-looking fabric that would be good for a skirt and she led me to some fabric in the bridal section. 😉 I can’t remember how many times I multiplied it around my waist, but it had to be quite large so that I could fit a hoop skirt under there! Because so much material was gathered at the top, I actually used a string where I would normally place the elastic, lined up the fabric how I wanted it to lay on me, and then I sewed elastic right on top of it so all the gathers would be in place. I found pink polka dot fabric in clearance which I used over the white skirt, added some pink dots with the heat n bond, added a pink sweater (It would have been easier if I had a pink shirt to begin with so then I would only be covering up a small section with blue, but I had to do it kind of backwards since a blue shirt was what I had). For the hat, I eventually looked at tutorials and got it figured out (I just looked up “pioneer bonnet tututorial” and lots came up).
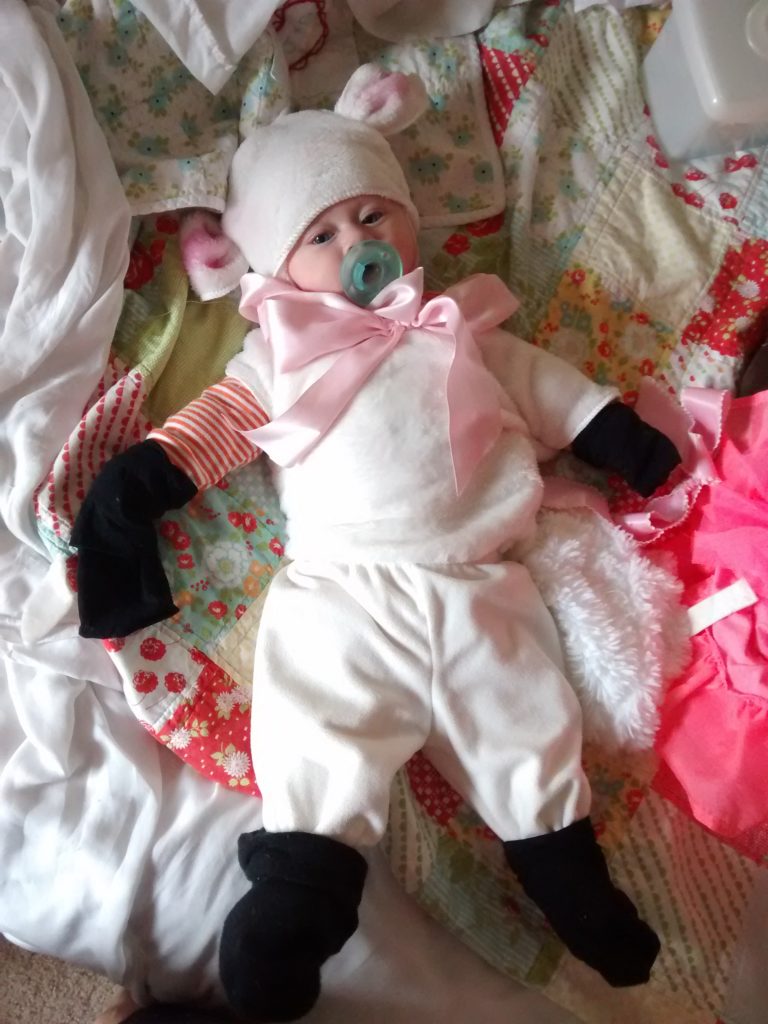
For Little Bo Peep’s sheep, we already had some cream fleece pants, and I picked up two very soft towels from dollar tree which I thought would be perfect for a lamb (I think it was a towel actually meant for car washing… haha!). I folded on in half, cut a hole at the top for her head, then sewed up the sides and out for arms. I somehow managed to piece together a hat from the same material as well, adding a pink ribbon to tie and little ears colored with a pink marker. Pink paint would have been better I think because the marker kept rubbing off! But, it worked. I used some thin and stretchy black socks I had, cut them in half and sewed them closed, and covered up her hands and feet with these (the picture above was taken just to see how it would all look, hence the not pulled up sock on her hand and the orange onesie underneath that is showing!).
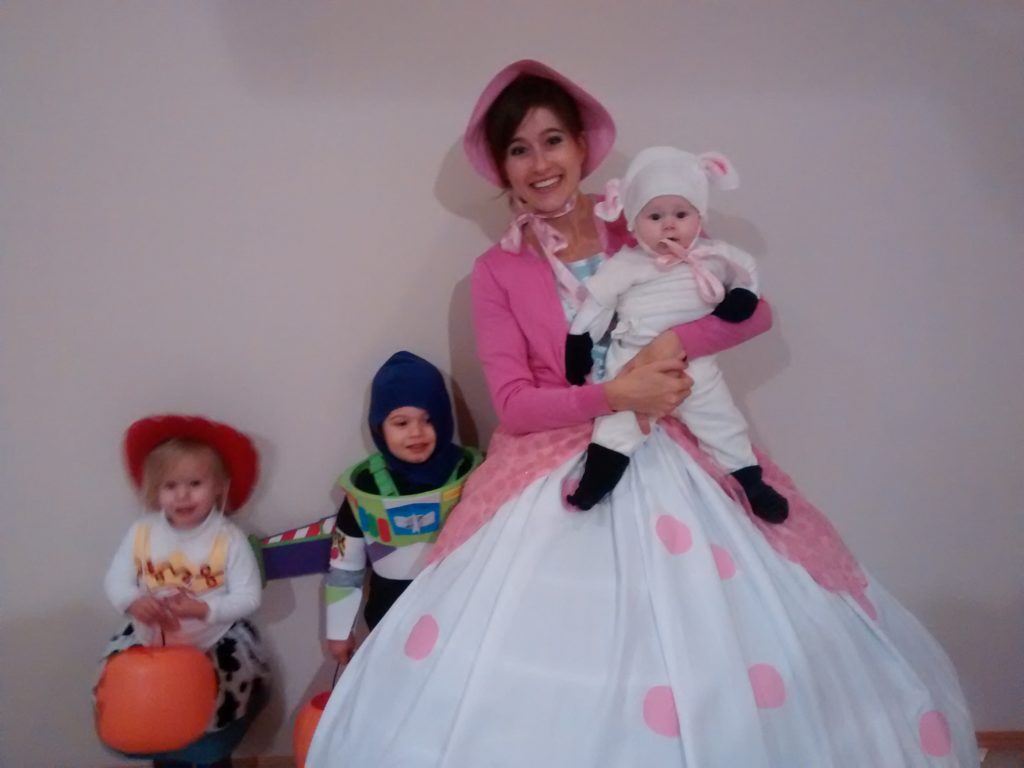 Unfortunately we did not get any good family pictures this year! So sad! Stay tuned for Toy Story Costumes Part 2 when I go over the creation of Buzz Lightyear! Can you guess what his costume is made from?


2 Responses to Halloween Costumes 2015- Toy Story (Part 1)