Welcome!

Search this site
Honey on Instagram
This error message is only visible to WordPress admins
Error: No feed found.
Please go to the Instagram Feed settings page to create a feed.
-
Recent Posts
Recent Comments
- Anonymous on Quick and Easy Chocolate Cake (Dairy and Egg Free!)
- Anonymous on Quick and Easy Chocolate Cake (Dairy and Egg Free!)
- Anonymous on Quick and Easy Chocolate Cake (Dairy and Egg Free!)
- keikiwahineuiokalani on Quick and Easy Chocolate Cake (Dairy and Egg Free!)
- Chanell on Halloween Costumes 2014- Little Red Riding Hood and Clan
Archives
Categories
Meta
Tag Archives: ava friendly
Quick and Easy Chocolate Cake (Dairy and Egg Free!)
I woke up this morning thinking I would wear black in mourning as today is election day and I was feeling less than excited and optimistic. But I decided I would eat something black instead, or almost black as I decided today was a day for chocolate. A day for chocolate indeed!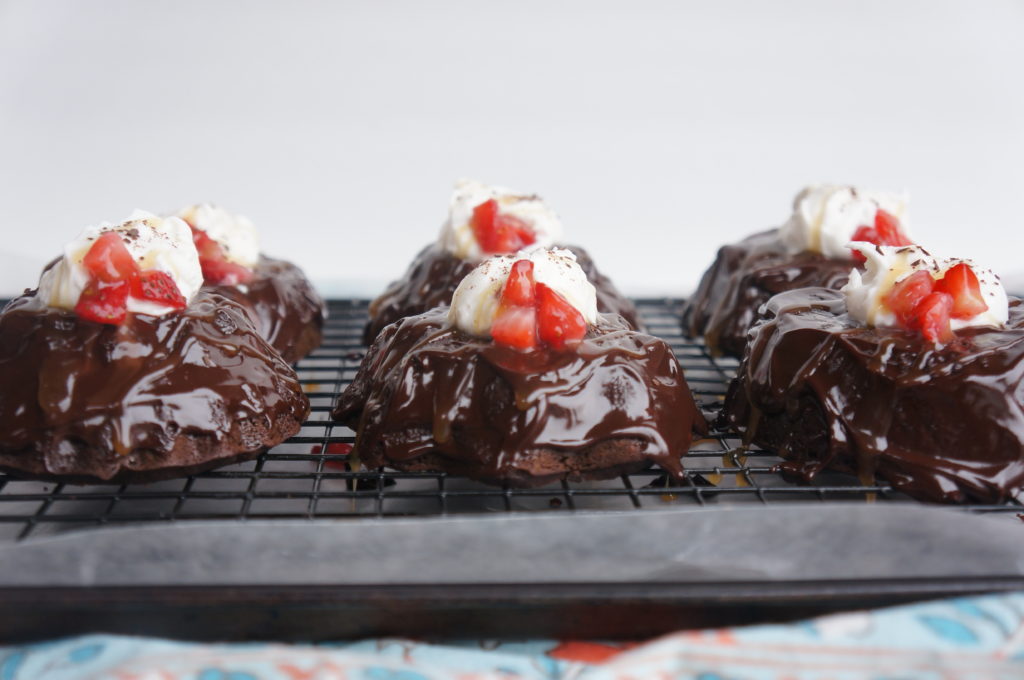

I love exercising my great privilege to vote and will do that today, but it is with a heavy heart. How did our country get so far off track? No matter what way I look at it, there is no happy outcome. Such terrible, terrible choices and it all makes me sick. Luckily, this cake I decided to make brought me some much needed sweetness today and a reason to smile! I DROWNED the cake in chocolate (ganache) and drizzled with caramel sauce. because it’s homemade caramel sauce. and few things are more delicious than that.
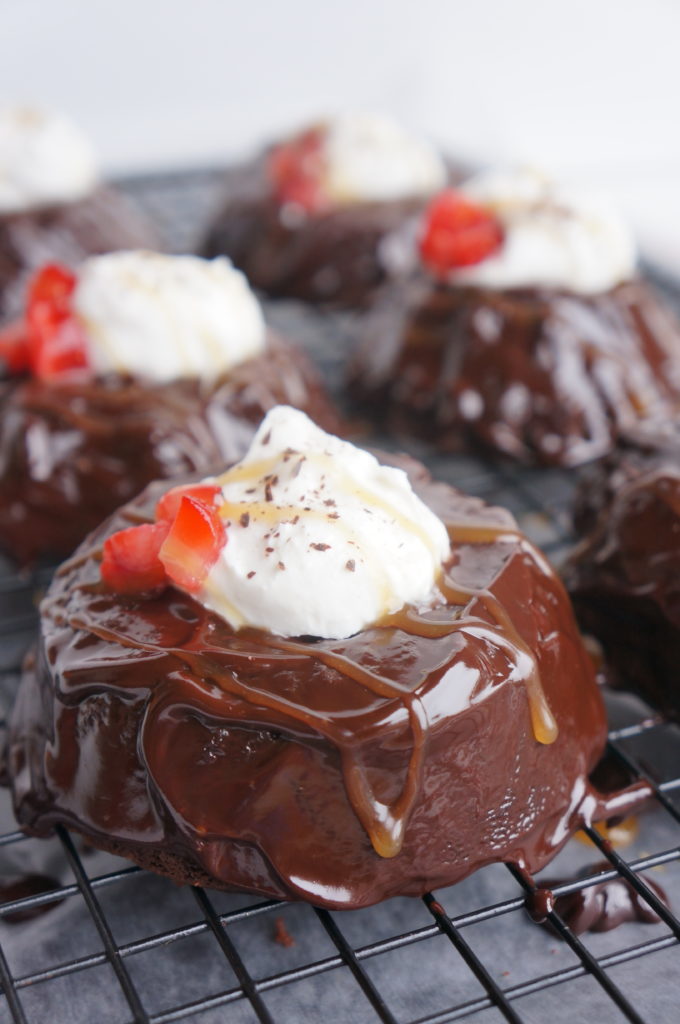
It was so funny as I was commiserating with my sister about today and I was telling her I was going to make chocolate cake in my mourning state, it suddenly clicked why I felt drawn to make this chocolate cake recipe. This happens to be my go-to chocolate cake. the cake you make when you don’t have any time but need cake. or the cake you make when you have all the time in the world and want a yummy cake. but another name for this particular cake that I suddenly rememembered is that it is also called DEPRESSION CAKE. !! coincidence? I think not! Definite food inspiration happening over here! hahahaha!
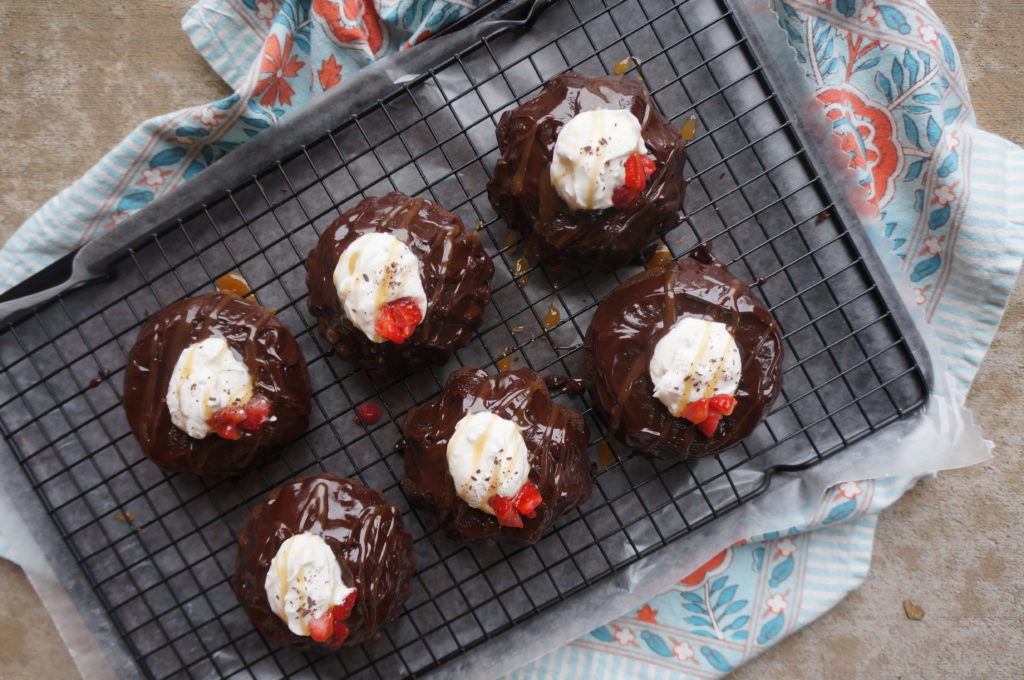
This cake was created in the time of the Great Depression when things like butter, milk, and eggs were scarce and too expensive to buy. Well, they got creative and discovered that you can have a perfectly moist and fluffy cake even without those ingredients! This is also makes it perfect for those with food allergies without having to sacrifice flavor or texture.

And you’ve heard of “One Bowl Chocolate Cake” right? Well how about this– “No Bowl Chocolate Cake!” I’m serious, you can mix the ingredients right in the pan without having to clean one single bowl. Crazy, right? No wonder they also call it wacky cake. Wacky good and amazing. and the perfect cake for any day of the week. but most especially for election day 2016. 😉
Quick and Easy Chocolate Cake
This cake goes by many names-- Depression Cake, Wacky Cake, War Cake--but no matter what you call it, it will be the easiest and quickest chocolate cake you will ever make, that smells delicious as it's cooking and tastes even better once it enters your mouth. It is also the perfect cake to have in your back pocket since this cake uses NO MILK, NO EGGS, and NO BUTTER. It will leave you wondering why you ever crack open a box of cake mix when baking a cake is this easy!
By: Honey On My Spoon
Ingredients
- 1½ cups all purpose flour
- ½ - 1 cup sugar*
- ¼ cup cocoa powder
- 1 tsp baking soda
- ½ tsp salt
- 6 Tbsp neutral oil (or I have used coconut oil with success too)
- 1 tsp pure vanilla extract
- 1 Tbsp white vinegar
- 1 cup cold water
Instructions
- Preheat oven to 350 degrees F.
- In an 8 inch square pan** whisk together the dry ingredients.
- Make a well in the center and add the oil, vanilla, vinegar, and water and whisk until combined
- Bake for 35-40 minutes until toothpick comes out mostly clean (or the way I check-- lightly press the center with your finger. If it remains indented let it cook a bit longer. If it bounces back it's done!).
- Let it cool completely in pan on a wire rack (or remove and put on wire rack if you cooked it in a different greased pan or made cupcakes).
- If desired, top with your favorite frosting or ganache (I went a little crazy with it today, but it seriously doesn't even need anything!).
- Make sure to tell everyone it took you ALL DAY LONG to make this cake. then laugh to yourself inside. then hand them the recipe to this cake so they can know your secret.
Notes
*Usual recipes for this type of cake call for 1 cup sugar, but I find most desserts overly sweet. I cut the amount down and find that even just ½ cup sugar is plenty sweet for me, but feel free to use the full 1 cup if you desire!
**I had these mini bundt cake pans that I wanted to use so I mixed the batter in a separate bowl and poured it into my greased pans, so that I could easy pop them out and invert. In 6 mini bundt pans, they cooked for approximately 20 minutes. You can also make them into cupcakes, checking for doneness after 18 minutes)
**I had these mini bundt cake pans that I wanted to use so I mixed the batter in a separate bowl and poured it into my greased pans, so that I could easy pop them out and invert. In 6 mini bundt pans, they cooked for approximately 20 minutes. You can also make them into cupcakes, checking for doneness after 18 minutes)
Apple Pie Frankie Shake
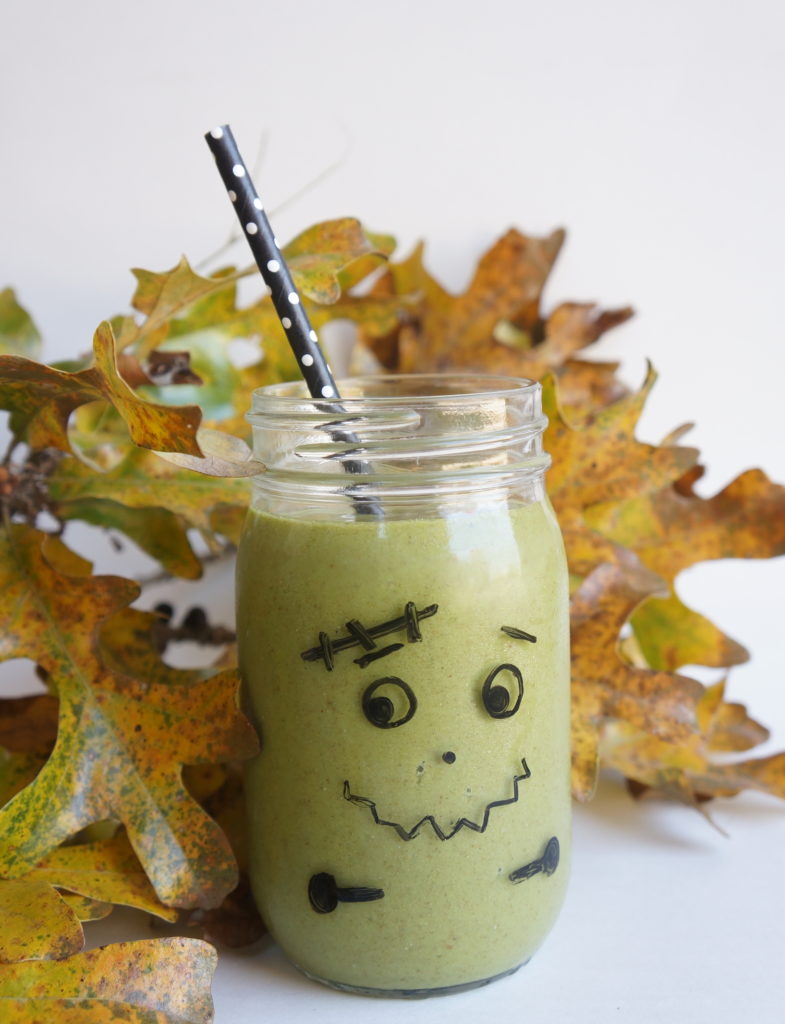
I’m always trying to find ways to make food fun for my kids. My son particularly loves green shakes or drinks, just because I call them “green monster” drinks! He was rather pleased with this different green shake, this time a “Frankie Shake”. 😉 Before filling it with the cold liquid, use a dry-erase marker to draw a silly face on the glass jar or cup. And this drink really is a Frankenstein green color, although unfortunately the color got washed out in the pictures. 🙁
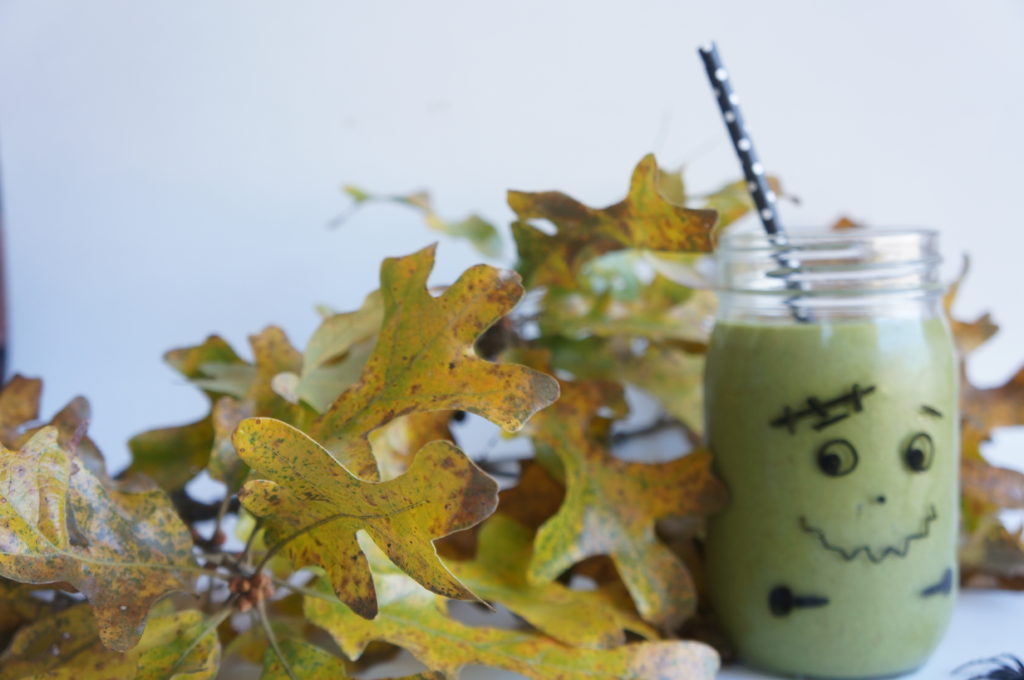
When I gave this drink to the hubby to taste test (and without saying the name or any ingredients in it), he seemed a bit puzzled and said, “This reminds me of something….” When he couldn’t quite put his finger on it I suggested “…apple pie?” “Yes! That’s it!” BOOM! shacka-lacka! I consider that a success.
Apple Pie Frankie Shake
A tasty breakfast shake reminiscent of apple pie and ice cream and with a festive Frankenstein color!
By: Honey On My Spoon
Ingredients
- ½ cup apple cider or juice*
- ½ cup milk (any kind- dairy or non dairy)
- 1 apple, peeled and cored**
- 2 dates, pitted
- 1 Tbsp chia seeds
- ½ tsp vanilla extract
- ½ tsp cinnamon
- large handful of fresh spinach
- handful of ice
Instructions
- Very difficult--- Put all ingredients into the blend and blend away! 😉
Notes
*Originally I had the recipe as 1 cup milk and no cider, but when testing it I ran out of milk and put apple cider in, and all taste testers in the house concurred that it tasted even better! So if you don't have cider, it will still taste great with all milk! If using all milk, you can add an extra date if more sweetness is desired, since the apple cider adds sweetness on its own.
**I've tried with unpeeled apples, and trust me, I don't like unnecessary steps but this does make a difference! With the peel it just has a bit of a strange texture and tastes a bit too fibery for my taste..
If you would like to turn this into a dessert shake-- omit the ice and chia (unless you want extra protein) and add a large scoop of vanilla ice cream!
Zucchini Pasta Sauce
Every Friday night growing up, my parents would go out on a date. This was our night as kids to make what we wanted for dinner, pop popcorn, and watch a movie! We called it our Friday Night Party! Our typical dinner fare (only for a Friday night) was Kraft mac and cheese with peas mixed in or Chinese take-out, but sometimes we got a bit more creative in the kitchen. I remember my brother being especially adventurous and decided he wanted to lead us in making homemade ravioli, having never made them before. Now, ravioli is not something you whip up real quick, it takes a lot of work and time! I think we were all starved by the time we sat down at 9 that night to finally eat our dinner!
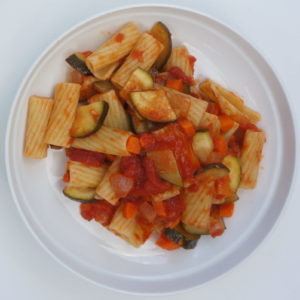
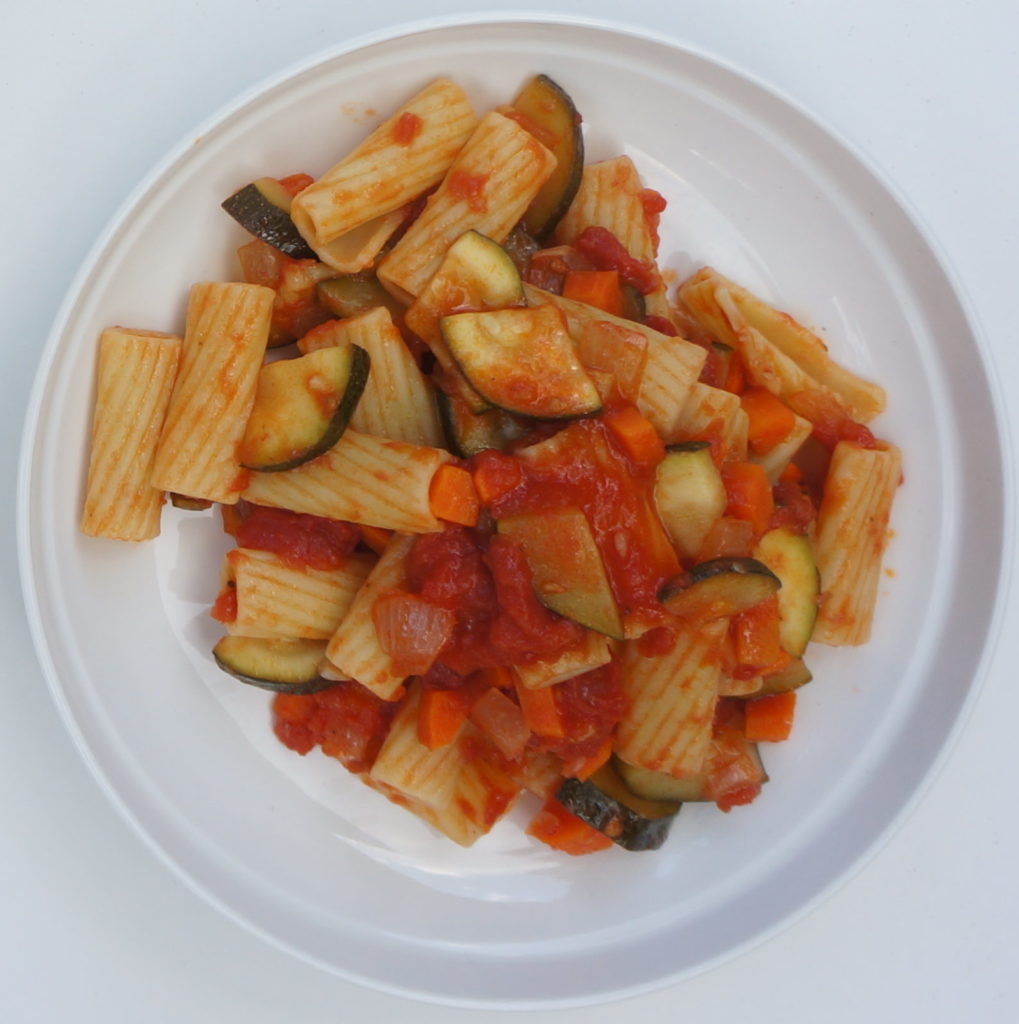 When it was just me and my sister left at home, I remember us slicing and cooking zucchini in the microwave and topping with parmesan, or feeling really fancy when we would saute an onion and carrot to add to our jar of Ragu pasta sauce. It sure makes us laugh now thinking how gourmet we thought we were! Later, we really stepped it up and created this pasta sauce from scratch that quickly became a favorite. It still is one of my favorites!
 When it was just me and my sister left at home, I remember us slicing and cooking zucchini in the microwave and topping with parmesan, or feeling really fancy when we would saute an onion and carrot to add to our jar of Ragu pasta sauce. It sure makes us laugh now thinking how gourmet we thought we were! Later, we really stepped it up and created this pasta sauce from scratch that quickly became a favorite. It still is one of my favorites!
Zucchini Pasta Sauce
A quick and simple pasta that highlights summer's zucchini!
By: Honey On My Spoon
Ingredients
- 2 Tbsp olive oil
- 1 onion, diced
- 3 carrots, diced (or grated if short on time--it will cook faster!)
- 2 zucchini, quartered and sliced
- 3 cloves garlic, minced
- 1 tsp salt
- ¼ tsp pepper
- 1 28 oz can crushed tomatoes (or can use diced or mashed up whole tomatoes)
- 1 tsp sugar
- parmesan (optional, for topping)
Instructions
- Heat a large saute pan with the oil and add the onion, carrots, zucchini and garlic, seasoning with salt and pepper, and cook until the onion is translucent.
- Add the crushed tomatoes and sugar and let it simmer until the carrots are tender and the sauce has thickened.
- Check for seasonings and add more salt or pepper if needed.
- Serve with shaped pasta* (I like it with penne, bowtie, or rigatoni) or cooked spaghetti squash.
Notes
* My favorite gluten-free noodles are made with brown rice and quinoa.
-This sauce is very simply seasoned that I enjoy as is, but you may also add basil, dried oregano, etc if you desire!
-My mom's secret was to add a chicken bouillon cube to pasta sauces! It really does give it a lot of flavor, so if you have that in your pantry, you can throw it in with the sauteeing veggies before you add the tomatoes (make sure you decrease salt significantly since those little cubes usually pack in a lot of salt already!), I did not include it in the recipe just because I personally no longer use them any more.
Mexican Loaded Sweet Potatoes
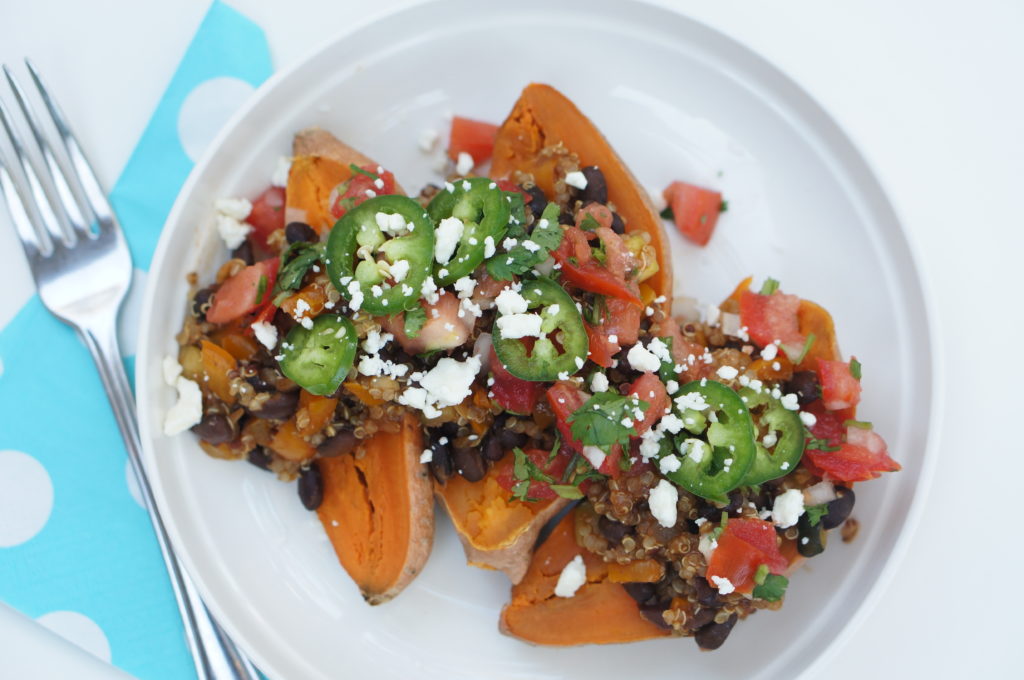
I was on my way home from running errands at 5:30 today (if going to Krispy Kreme dressed like a pirate to get free donuts counts as an “errand”…), and was trying to think what I could make real fast since the hungry husband was going to be home in 30 minutes. I was planning on making stuffed bell peppers, but the husband gently suggested he was really hungry and wanted something quite filling. Plus, I wasn’t really feeling stuffed bell peppers, so forget that idea. I asked him for any ideas— “baked potatoes and chili” he said. hm. Well, his idea did help me, and this meal came about from his suggestion!

But first to address the issue of baking a sweet potato and not having time…. the microwave can be quite the time saver. Although baking is obviously best, when you don’t have time, it works! All of the ingredients are very similar to the ingredients I use to make sweet potato and black bean enchiladas actually, but no tortillas and tedious rolling up needed! Realizing this, I wanted to make a slight sauce with the mixture. Since I didn’t want to make a full on enchilada sauce, I added mexican seasoning, and tomato paste thinned with some of the bean liquid. *and disclaimer, these pictures do show some quinoa in the mixture.. that is just because I had about 1 cup of it in the fridge I needed to use up! But that was the only reason I added it, I did not include it in the recipe and it really is not needed.
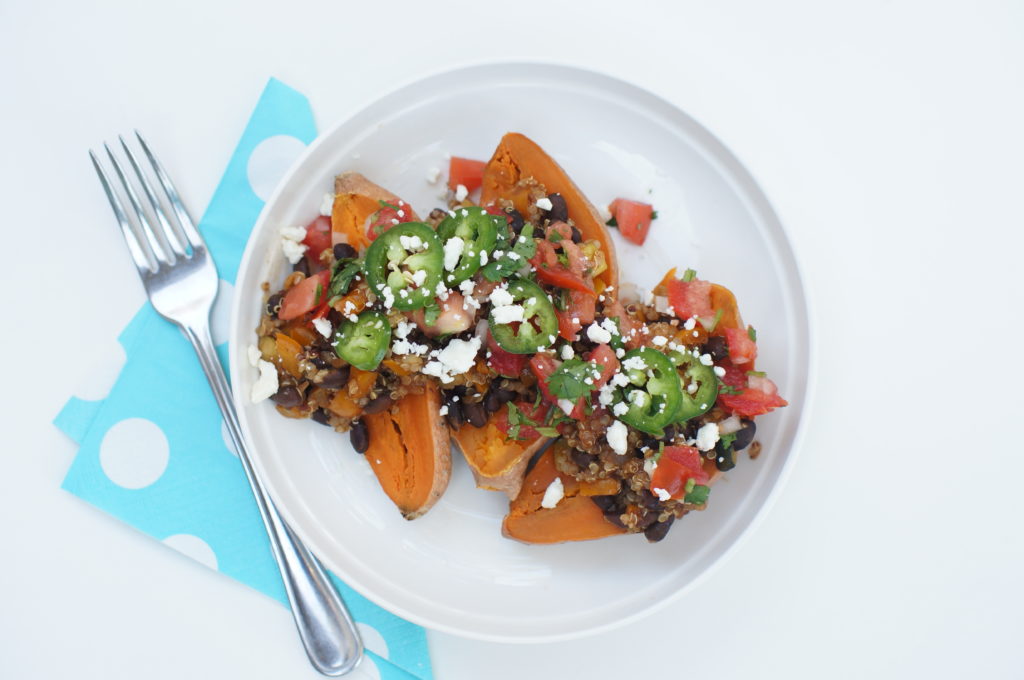
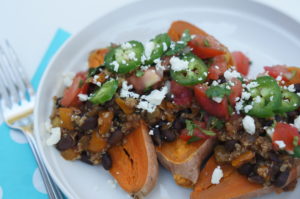
Top with a bright and fresh pico de gallo and any additional toppings, and a colorful and filling dinner is on the table fast!
Mexican Loaded Sweet Potatoes
A quick and filling vegetarian dinner that is full of flavor!
By: Honey On My Spoon
Serves: 4
Ingredients
- 4-6 sweet potatoes
- 2 Tbsp olive or coconut oil
- 1 onion, chopped
- 1 zucchini. diced
- 1 bell pepper, diced (red, orange or yellow)
- 3 garlic cloves, minced
- ¾ tsp salt
- 1 tsp tomato paste
- 2-3 tsp Mexican/Taco Seasoning*, recipe follows
- 1 can black beans, drained and reserve liquid
- optional toppings-- feta/cotija cheese, jalapenos, radishes, guacamole, sour cream
- MEXICAN SEASONING:
- 1 Tbsp chili powder
- 2 tsp cumin
- 1 tsp paprika
- 1 tsp oregano
- ½ tsp garlic
- FOR THE PICO**:
- 2 large tomatoes
- 2 Tbsp onion, diced
- ½ small garlic clove, minced
- ½ lime, juiced
- handful of cilantro
- salt, to taste
Instructions
- Prick sweet potatoes once or twice with a fork and bake on 400 degrees for 45-60 minutes, until a fork can easily pierce through the sweet potato.***
- Make the pico: Slice tomatoes in half, pull out extra liquid and seeds and toss, then diced the tomatoes up. Add in the rest of the ingredients for pico and set aside.
- Heat a large saute pan with the oil and then add the onions, zucchini, bell pepper, garlic, and salt. Cook 5-10 minutes until onions are translucent and zucchini is tender.
- Stir in the tomato paste, then add the drained beans, seasoning, and 3 Tbsp of the bean liquid.
- Let it simmer for 5 minutes, then taste and add more salt/seasoning if needed, and more bean liquid to make it more saucy, if desired.
- To assemble: Slice sweet potatoes in half, lightly sprinkle with salt and pepper, then add the bean and veggie mixture, and top with the pico and any optional toppings.
Notes
*If using storebought, make sure you check if there is salt already added, and decrease the salt in the recipe if there is. To make the mexican seasoning mix, I usually double or triple the recipe and keep it in an empty spice container.
**Need to save time? Use a storebought pico or salsa
***Alternately, if short on time, prick and pop them in the microwave! This takes the cooking from 60 minutes to oh, about 6. 😉 Cook it for 5 minutes first, then see how soft they are and add more time from there. They should not need more than 10 minutes total (mine are done in 6-7 minutes). The skin wont be as good as it is when baked, but seriously, sometimes the time difference is all that matters. 😉
Pizza Dough
*Can I just say how excited I am to finally have this site up and running?!! This is been many months of naptimes in the making. 🙂 I know I will have lots of fun posting and I hope you enjoy it too!
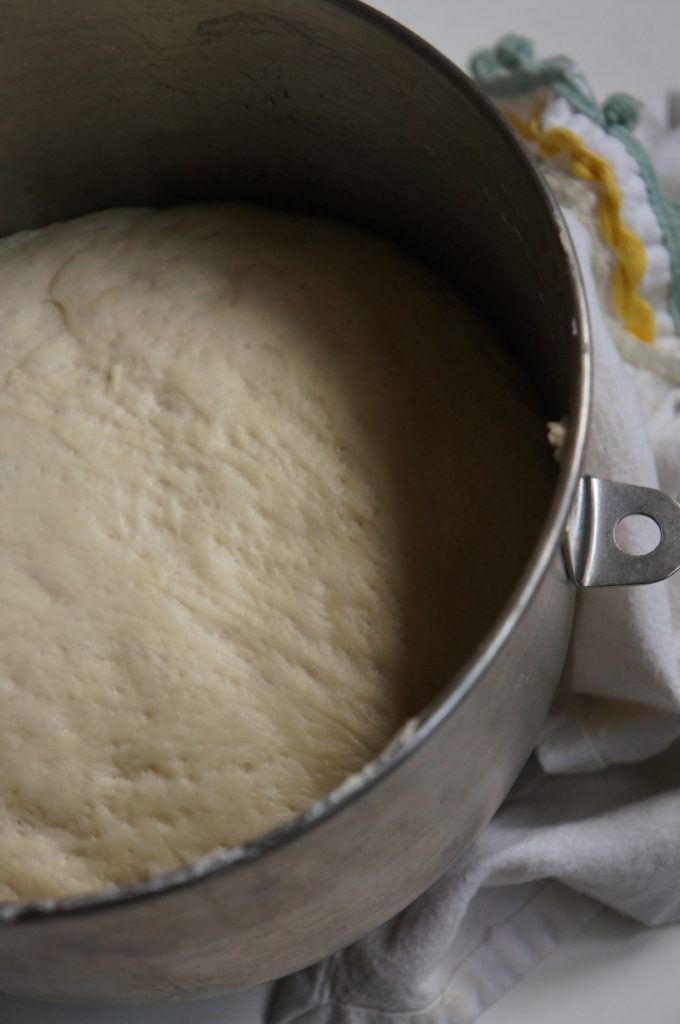
Friday night dinner with my kids means one of three things 1. party/fun food 2. kid friendly food or 3. pizza night! Before we had kids, we had pizza just about every Friday night. You can have so many variations that we never seemed to tire of it and we seemed to have a different type of pizza each week!
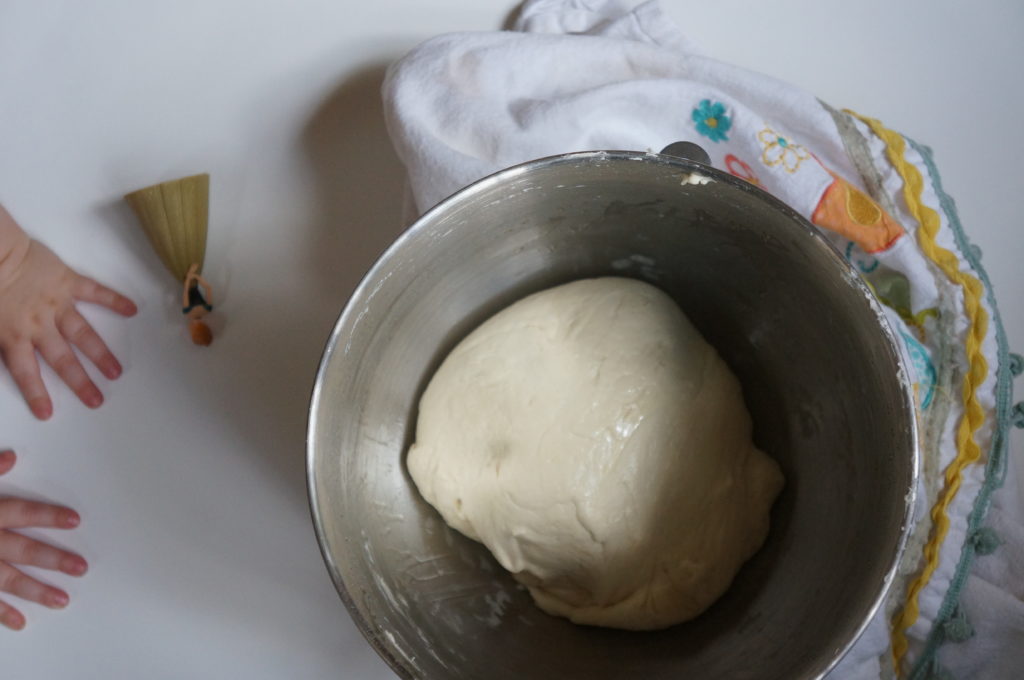
This is my favorite pizza dough recipe and it makes enough for two pizzas, so I usually use one up and stick the other in the freezer! That way I always have one on hand and ready to go. I love making pizza with my kids. It is the perfect meal to involve them as they get to play with their dough and roll it out, and then pick out what toppings they want!
Pizza Dough
This is my go-to pizza recipe. You can vary it by adding herbs, roasted garlic, cheese, etc. I also use this same recipe for breadsticks! If you have a pizza stone, that makes the best crisp crust. Either way, the higher the heat the better-- 475-500 degrees for 10-12 minutes works out well.
By: Honey On My Spoon
Ingredients
- 1½ cups warm water
- 2 tsp yeast (or one pkg)
- 3½ -4 cups flour
- 2 tsp salt
- 2 tsp honey (opt)
- 2 Tbsp EVOO (opt)
Instructions
- Put yeast into a stand mixer and pour water on top (and honey if using). Let sit 5-10 minutes until quite bubbly and foamy.
- Add 3½ cups flour and salt (and the optional EVOO) and mix with paddle until it starts to form a dough.
- Switch to a dough hook and knead on medium low for 3 minutes. Let rest for 5 minutes.
- Knead again for 5 minutes, adding more flour as necessary, so that when you touch the dough with your finger, the dough does not stick. The dough should be smooth and elastic.
- Spray or drizzle some EVOO into the bowl and turn the dough over to coat.
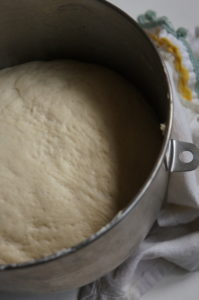
- Cover the bowl with plastic wrap or a cloth, and let rise until doubled in size (at least 45 minutes, preferably 1½-2 hours)*.
- Divide in two and use right away, or place in zip top bag sprayed with oil and refrigerate or freeze.
Notes
* If rising 3-4 hours, punch down and rotate the dough halfway through. The dough can also be refrigerated for several days (which will allow the dough to develop even more flavor).
I made the honey and oil optional because I really only add these half the time when I am feeling like making the extra step and pulling them out. 🙂 Most times, though, I do without and it still tastes great.
I made the honey and oil optional because I really only add these half the time when I am feeling like making the extra step and pulling them out. 🙂 Most times, though, I do without and it still tastes great.

